
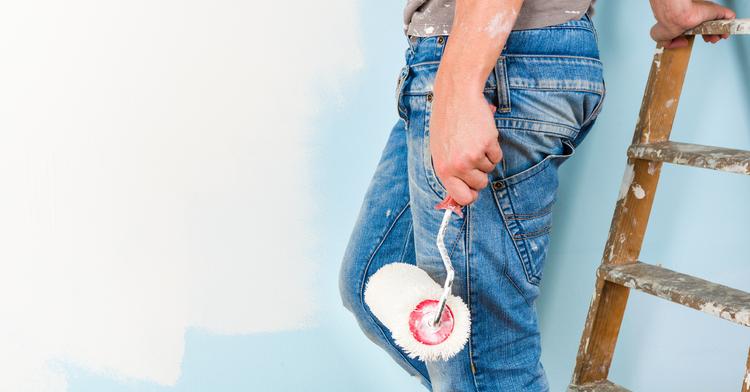
Thinking of trying your hands at DIY paint job for the first time? Here are some costly rookie mistakes you should avoid making.
All too often, those considering selling off or leasing out their property will feel compelled to give their home upgrade to appeal to potential buyers or renters. Most of the time, they will jump into a quick DIY paint job in the hope of saving a few bucks.
If you’re anything like me, the average lazy man, you’d rather fork out the additional ringgits then try to boil the ocean. But if you do decide to do it yourself anyway, it is important that you take note of these common mistakes so that you can avoid a disastrous paint job. Trust me, it’ll save you precious time, money and effort having to correct avoidable mistakes.
1. Not spending time on preparation

First and foremost, prepping before execution is very important.
The biggest mistake you could possibly make is foregoing prep work on your wall. The build-up of dirt, grime or damage on the surface of the wall can show through the new layer of paint long after it has dried.
Start by cleaning the walls with a damp cloth. Defects such as chipped paint and cracks should be patched up and sanded to create a smooth, prepped surface for the paintwork. Be sure to fill in cracks, chipped paint, and holes. Sand whatever patch material you used after it dries so that you’re left with a smooth surface that is prepped and ready to be painted.
BONUS TIP: Avoid painting on a rainy day as the humidity may lead to a very slow drying process, and cost you double the effort. Make sure not to rush the paint job or it will be noticeable on your final product. Remember, patience is a virtue.
2. Not trying the paint colours before buying

Natural lighting is the biggest reason why you should always try the paint colour on your actual walls before deciding on them. Factors such as the lighting of the room and the colour of your existing walls, change how the swatches look at the store and at home.
As a result, you will end up with walls that don’t match or colours that are too bold and overpowering. Once you’ve purchased it, it’s too late to have a change of heart. A good tip is to select several shades of your desired colour and try it on your actual walls at home.
BONUS TIP: Always take into account the area of the house you plan to paint and choose the colours accordingly. For example, if you are planning to brush up the bedroom, you might want to consider a dark blue tone as it enhances the feeling of calmness.
3. Neglecting the importance of using a primer
One of the most vital components when it comes to painting a wall is a primer.
Most novice painters would take the easy route by working with dark, saturated colours so they can skip the need for primer altogether. Sadly, that’s not how it works.
Without the use of a primer, you will need more layers of paint to get adequate coverage and to seal over stains and other discolouration.
A primer is a flat paint with sticky consistency designed to ensure better adhesion of the paint of choice. It also promotes higher durability and provides your paint with additional protection. In short, with primer, your painted surface can go a long way. So why not use it?
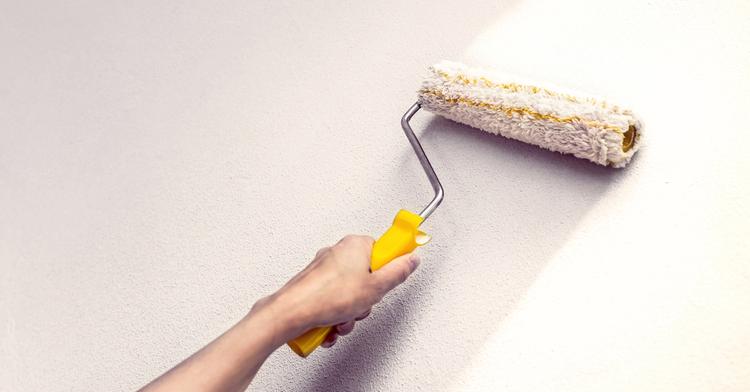
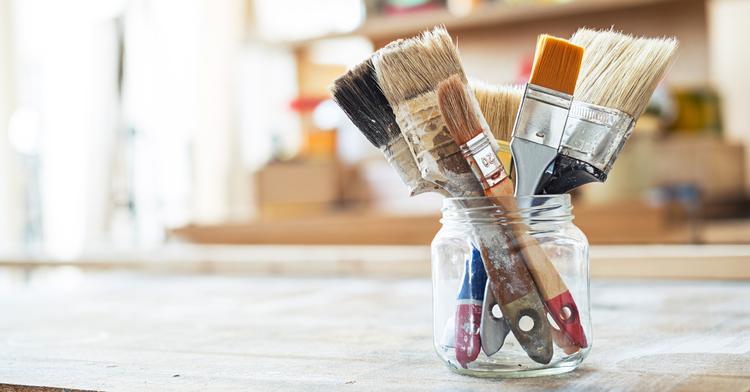
4. Skimping on paint, brushes and rollers
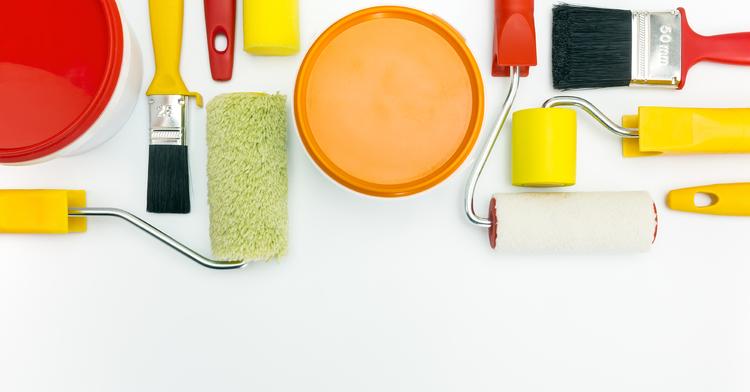
There’s a famous saying, “You’d be surprised how much it costs to look this cheap.”
You can’t even begin to imagine how much you will end up spending when your first choice of paint is the cheapest brand you can find on the shelf. Imagine having to deal with cracks and chips in a matter of only two to three months even after using a primer.
Size and quality matters because the last thing you want to be doing is redoing. Opting for cheap brushes or rollers won’t be doing you any favours either. You will find your brushes losing hair and your rollers fraying in no time. You also need to consider purchasing brushes in the right sizes to allow you to work around the edges of your walls and those tough corners easily.
5. Waiting until the paint dries to remove painter’s tape
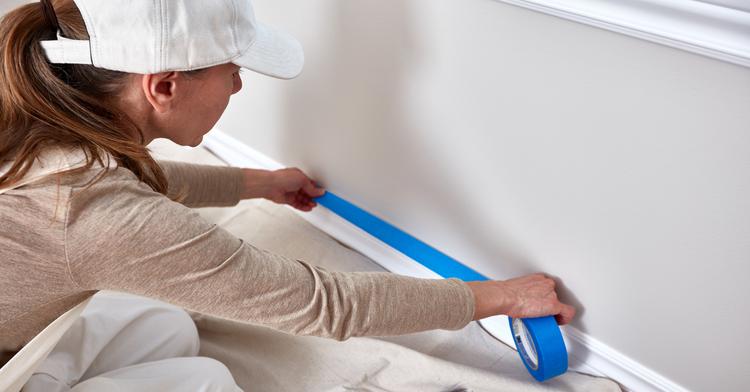
You’ve been doing a good job so far, opting to use painter’s tape to ensure that you have clean edges and to prevent the paint from bleeding. And now as you’re removing the tapes, surprise, surprise, you find chunks of that newly painted colours coming off with it.
The common mistake people make is thinking that they need to let the paint dry off completely before removing the tape. The truth is, the painter’s tape is best removed when the paint is still wet.
6. Careless on the finishing and clean up
The clean-up stage is undeniably just as important as the preparation. After a long hard day of painting, it’s tempting to just abandon your paint tray, roller and brushes instead of cleaning them. As a guy who is constantly looking for ways to get things done in the easiest way possible, I can safely tell you this is a step you should not skip.
Thoroughly clean your brushes and tray, and make sure to dry them up with either an old cloth or some kitchen paper towels before storing them away. Make sure that the lid of the leftover paint is properly cleaned and sealed for future usage.
To clean up paint drips, wait for the paint to dry before attempting to scrape them off the wall with a paint scraper.