
Learn how to paint wood furniture like a professional with these simple painting tips.
Looking to redecorate a room? Before you start stressing out about the amount of money you’ll be spending on new furniture pieces, hear us out. There’s a simple solution to update and upgrade your dilapidated, wooden furniture into a fine piece of art, and all you need is fresh coats of paint.
Contrary to popular belief, you don’t need to be a pro to know how to paint wood furniture. Sure, you’ll probably need to take a few tries to paint with great finesse, but it sure is cheaper than hiring someone to do it.
Before you get started, there are some tools and materials you need:
- Primer
- Paint
- Sandpaper
- Sanding block
- Paintbrush
- Paint roller cover
- Drop cloth
- Plastic sheet
- Painter’s tape
Now you can start working on your craft!
1. Lay a drop cloth
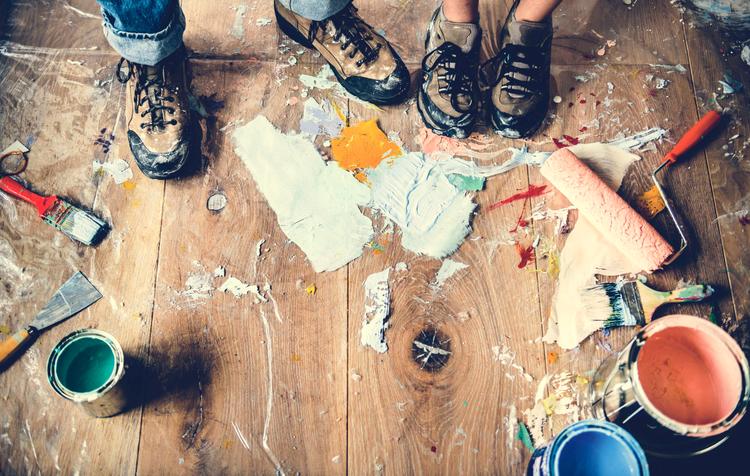
Painting a piece of furniture can be a messy affair. To avoid getting your home looking like a construction site, drape plastic sheets on your floor, walls and tables, and secure it with painter’s tape. Lay a drop cloth over the plastic sheets in places where you will be walking. Furniture like floor lamps and rugs are advised to be removed from the room. Remember to also remove any hardware from the furniture before you start.
Read more: What’s so great about WD-40 and why is everyone obsessed with it?
2. Clean the surface
Next, use a clean, damp cloth to wipe down the wooden surfaces to remove dust and dirt.
3. Sand the wood
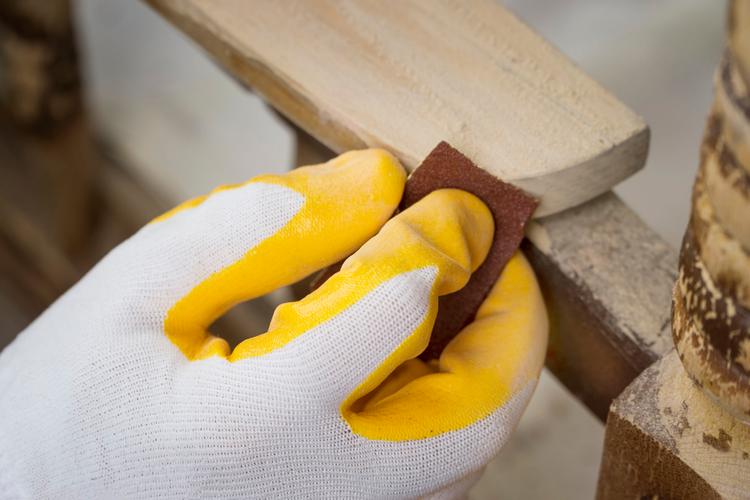
The key to a smooth paint job lies in this step. Sand the wooden surface with a sanding sponge or a fine-grit (go for #220) sandpaper. For a surface with knots, sand them until they’re even. Then, vacuum the residual grit and give it a good wipe down one more time before proceeding to the next step.
4. Prime the wood
With its high-solid content, primer helps fill in the wood grain, seals the surface and creates a smooth surface for the finish coat. Hence it’s essential to paint a layer of primer before you apply your first coat. Let it dry for at least an hour before moving on to the next stage.
Oil-based primers are preferred because they help to seal the porous surface of wood, making it easier for the paint to cover the surface. Oil-based primer also helps to stop tannins (a yellowish or brownish bitter-tasting organic substance released from woods) from bleeding through the surface.
Read more: 7 home repairs you can DIY at home
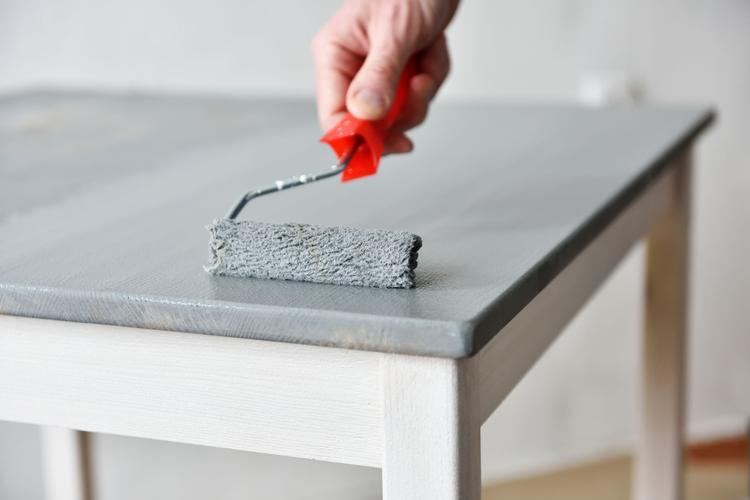
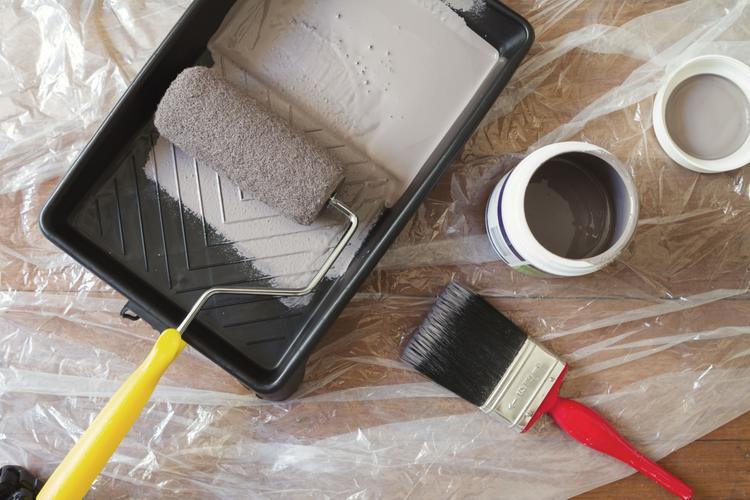
5. Time to paint
Yes, we’ve finally arrived at the most important step! Before you get all excited and start painting, it’s crucial to understand the differences between brushes and roller.
For paintbrush: Best for smaller and detailed areas like trims, corners and crown moulding. Dip the bristle a quarter into the paint before transferring it to the wood. Remember to be careful when painting the trim and always keep a wet edge to prevent a lap mark. Finish painting the first coat before moving on to the second coat.
For paint roller: Best for large and smooth surfaces. Dab the roller cover into the paint and roll it up and down the slope of the tray to distribute the paint. Then, transfer the roller to the wood and start painting!
Read more: 6 mistakes to avoid making with a DIY paint job
6. Apply the second coat
For a smooth finish, it’s prudent to sand and apply a second coat of paint. Once you’re done painting the first coat, wait for at least two hours before you sand it — use #220 grit sandpaper — to bring down any inconsistencies. Note: Do not apply pressure to the sander or it’ll scrape off the layer of paint you’ve worked on. Then, take a tack cloth and gently run it across the surface. Check if the wood is clean and smooth before you finish with the final coat of paint.
And voila, you just scored yourself a piece of brand new furniture for your home!
What kind of paint can be used on wood?
Wood painting is a bit tricky, you need a certain type of paint like acrylic paint and acrylic enamel. Our advice? use acrylic paint for indoor wood painting and reserve acrylic enamel for outdoor wood furniture. Enamel paint is more resilient and will weather all kinds of element.
How to seal acrylic paint on wood?
Like it or not, the paint will start to wear and tear after a few years. To protect acrylic paint and make it last longer, you need to apply a clear sealant. Go for a wax-based sealant for a flat finish and a polycrylic sealant for a glossy finish. Apply the sealant with a paintbrush once the paint has dried.
Can you paint wood without sanding?
Yes, but the end result won’t look as nice. Sanding helps to smoothen the wood surface so you don’t get any blemishes after you’re done. It’s always a good advise to sand down before applying the primer. Then only you get to paint it.
Can you paint over stained wood?
Unfortunately, no. Most stained wood has a glossy surface, thanks to the varnish. If you paint over these glossy surfaces, the paint will crack because it can’t grip on to the surface properly. To avoid this, you should always sand away the gloss before you paint.